How to set static IP on Lynx GigE cameras
Introduction
This support article describes how to configure your Lynx cameras with a static IP address. For normal use this isn’t required as Swing Catalyst handles the IP configuration automatically.
Requirements
The MVS application (used to configure the IP’s).
Swing Catalyst version 9.8.5 or later.
A Swing Catalyst Lynx GigE camera.
An already working camera setup.
Installing the MVS application
Download and extract the MVS client application: https://swingcatalyst.s3.amazonaws.com/drivers/MVS_STD_3.4.1_220407.zip
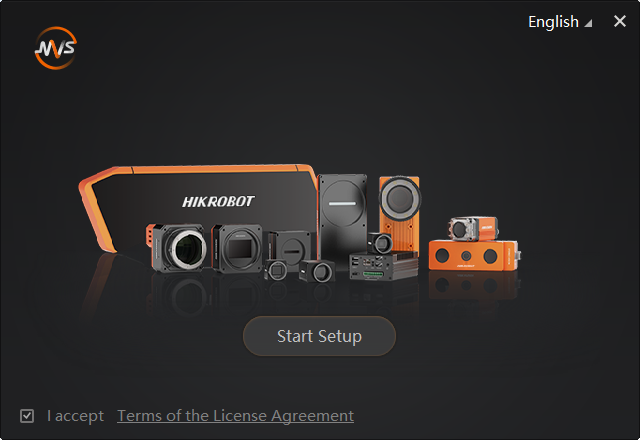
Install MVS, follow the on-screen instructions
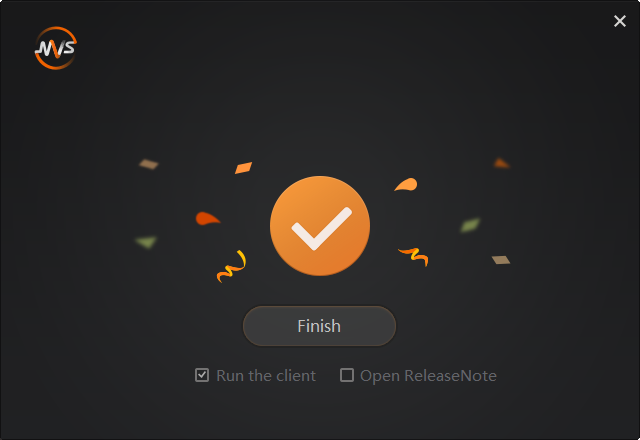
Uncheck open release notes.
Click Finish.
Setting a static IP on the Ethernet Adapter
Once the cameras have static IP addresses assigned to them you need to configure the network adapters you plan on using with a static IP. This needs to be configured so it matches each connected cameras.
This means if you disconnect the camera and connect it to a different Ethernet adapter, it won’t “work” unless it’s reconfigured.
Warning:
The “Ethernet Adapter” number referred to below is not the number associated with the network adapter but for illustrative purposes. Please configure each network adapter on a per camera basis, i.e. if you have two cameras connected configure them sequentially and refer to the tables for Ethernet adapter 1 & 2, don’t change the settings on any network adapters that don’t have identified cameras connected to them.
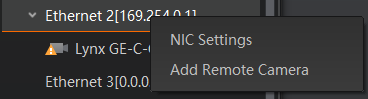
Right click on the Ethernet Adapter above the connected camera.
Click “NIC Settings”.
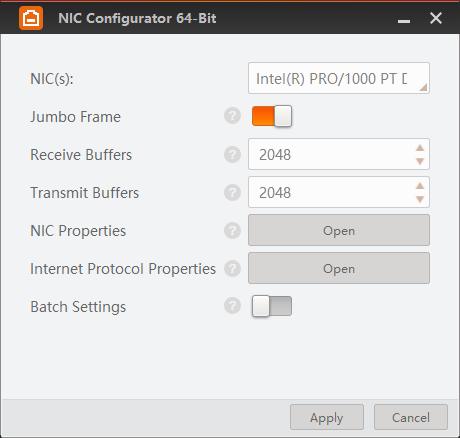
Enable Jumbo Frame.
Set Receive Buffers to maximum value.
Set Transmit Buffers to maximum value.
Click “Open” on “Internet Protocol Properties”
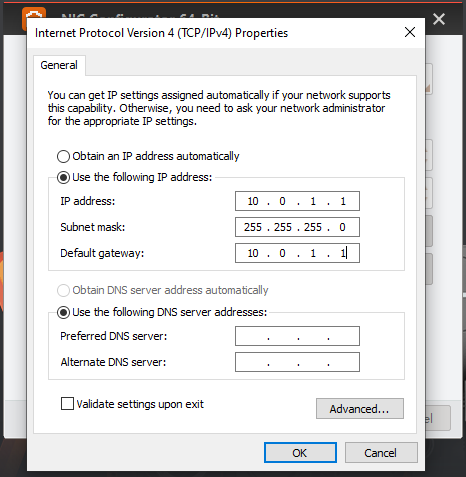
Configure the network adapter according to the table below.
Recommended static IP configuration for each Ethernet adapter
This is an example of a configuration with static IP addresses. Note the IP for the Ethernet Adapter and respective cameras.
| Ethernet Adapter Number | Ethernet Adapter IP | Subnet Mask | Gateway | Connected to Camera | Camera IP |
|---|---|---|---|---|---|
| 1 | 10.0.1.1 | 255.255.255.0 | 10.0.1.1 | 1 | 10.0.1.10 |
| 2 | 10.0.2.1 | 255.255.255.0 | 10.0.2.1 | 2 | 10.0.2.10 |
| 3 | 10.0.3.1 | 255.255.255.0 | 10.0.3.1 | 3 | 10.0.3.10 |
| 4 | 10.0.4.1 | 255.255.255.0 | 10.0.4.1 | 4 | 10.0.4.10 |
Setting a static IP on the camera
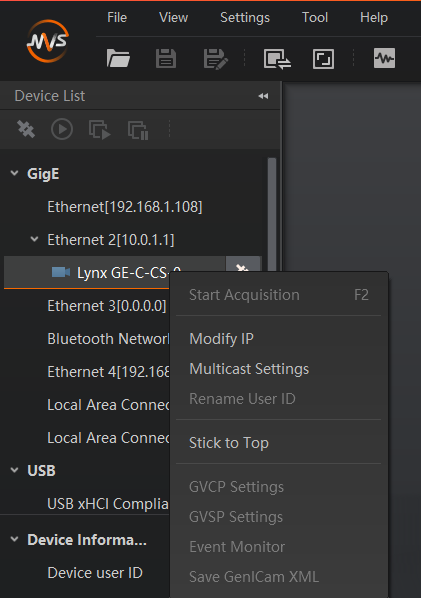
Make sure your Lynx camera(s) is connected. If you connected it after starting the application, hover the mouse over the “GigE” menu and click the refresh button.
This process must be repeated for all of the connected Lynx cameras you’ve set a static IP on.
Please note you will need to set static IP on camera 1, then network card 1 sequentially. Once you’re done with 1 proceed to 2 etc. The numbers referred to are not the actual names of the network adapters themselves, e.g. “Ethernet 2”, but simply used for illustration purposes.
Right click on the camera in the list and click “Modify IP”
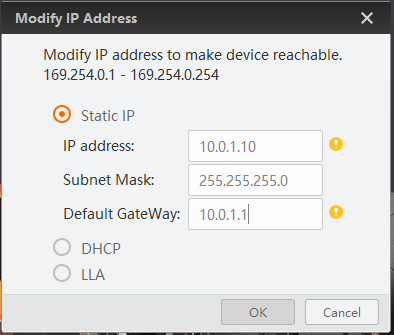
Change the selection from DHCP or LLA to Static IP.
Configure the IP address and subnet mask according to the description below.
The IP needs to be different for each camera.
Recommended static IP configuration for cameras
| Camera No | IP | Subnet Mask | Gateway |
|---|---|---|---|
| 1 | 10.0.1.10 | 255.255.255.0 | 10.0.1.1 |
| 2 | 10.0.2.10 | 255.255.255.0 | 10.0.2.1 |
| 3 | 10.0.3.10 | 255.255.255.0 | 10.0.3.1 |
| 4 | 10.0.4.10 | 255.255.255.0 | 10.0.4.1 |